

I love pom poms! At work in The Sunday Mirror we printed a picture of Paloma Faith wearing a fantastic jumper covered in pom poms.
People at work know I like to craft, so I said I would do a step-by-step tutorial for the paper. I also made a video.
Who doesn't love a soft, squishy pom pom? They're all the rage at the moment with many pages on Instagram dedicated to the brightly-coloured balls of fluff. A great accessory to bring a pop of colour to any outfit.
Gone are the days when you have to spend hours making one pom pom. I remember cutting out 2 circles of card from a cereal box and spending ages threading the wool through the circle and over, through the circle and over, again and again. Yawn!

I love gadgets, especially ones that are time-savers. As a full-time working mum of two children, anything that saves time gets my vote. Whoever came up with this little time-saving gadget deserves a crafty medal, or maybe a pom pom garland.
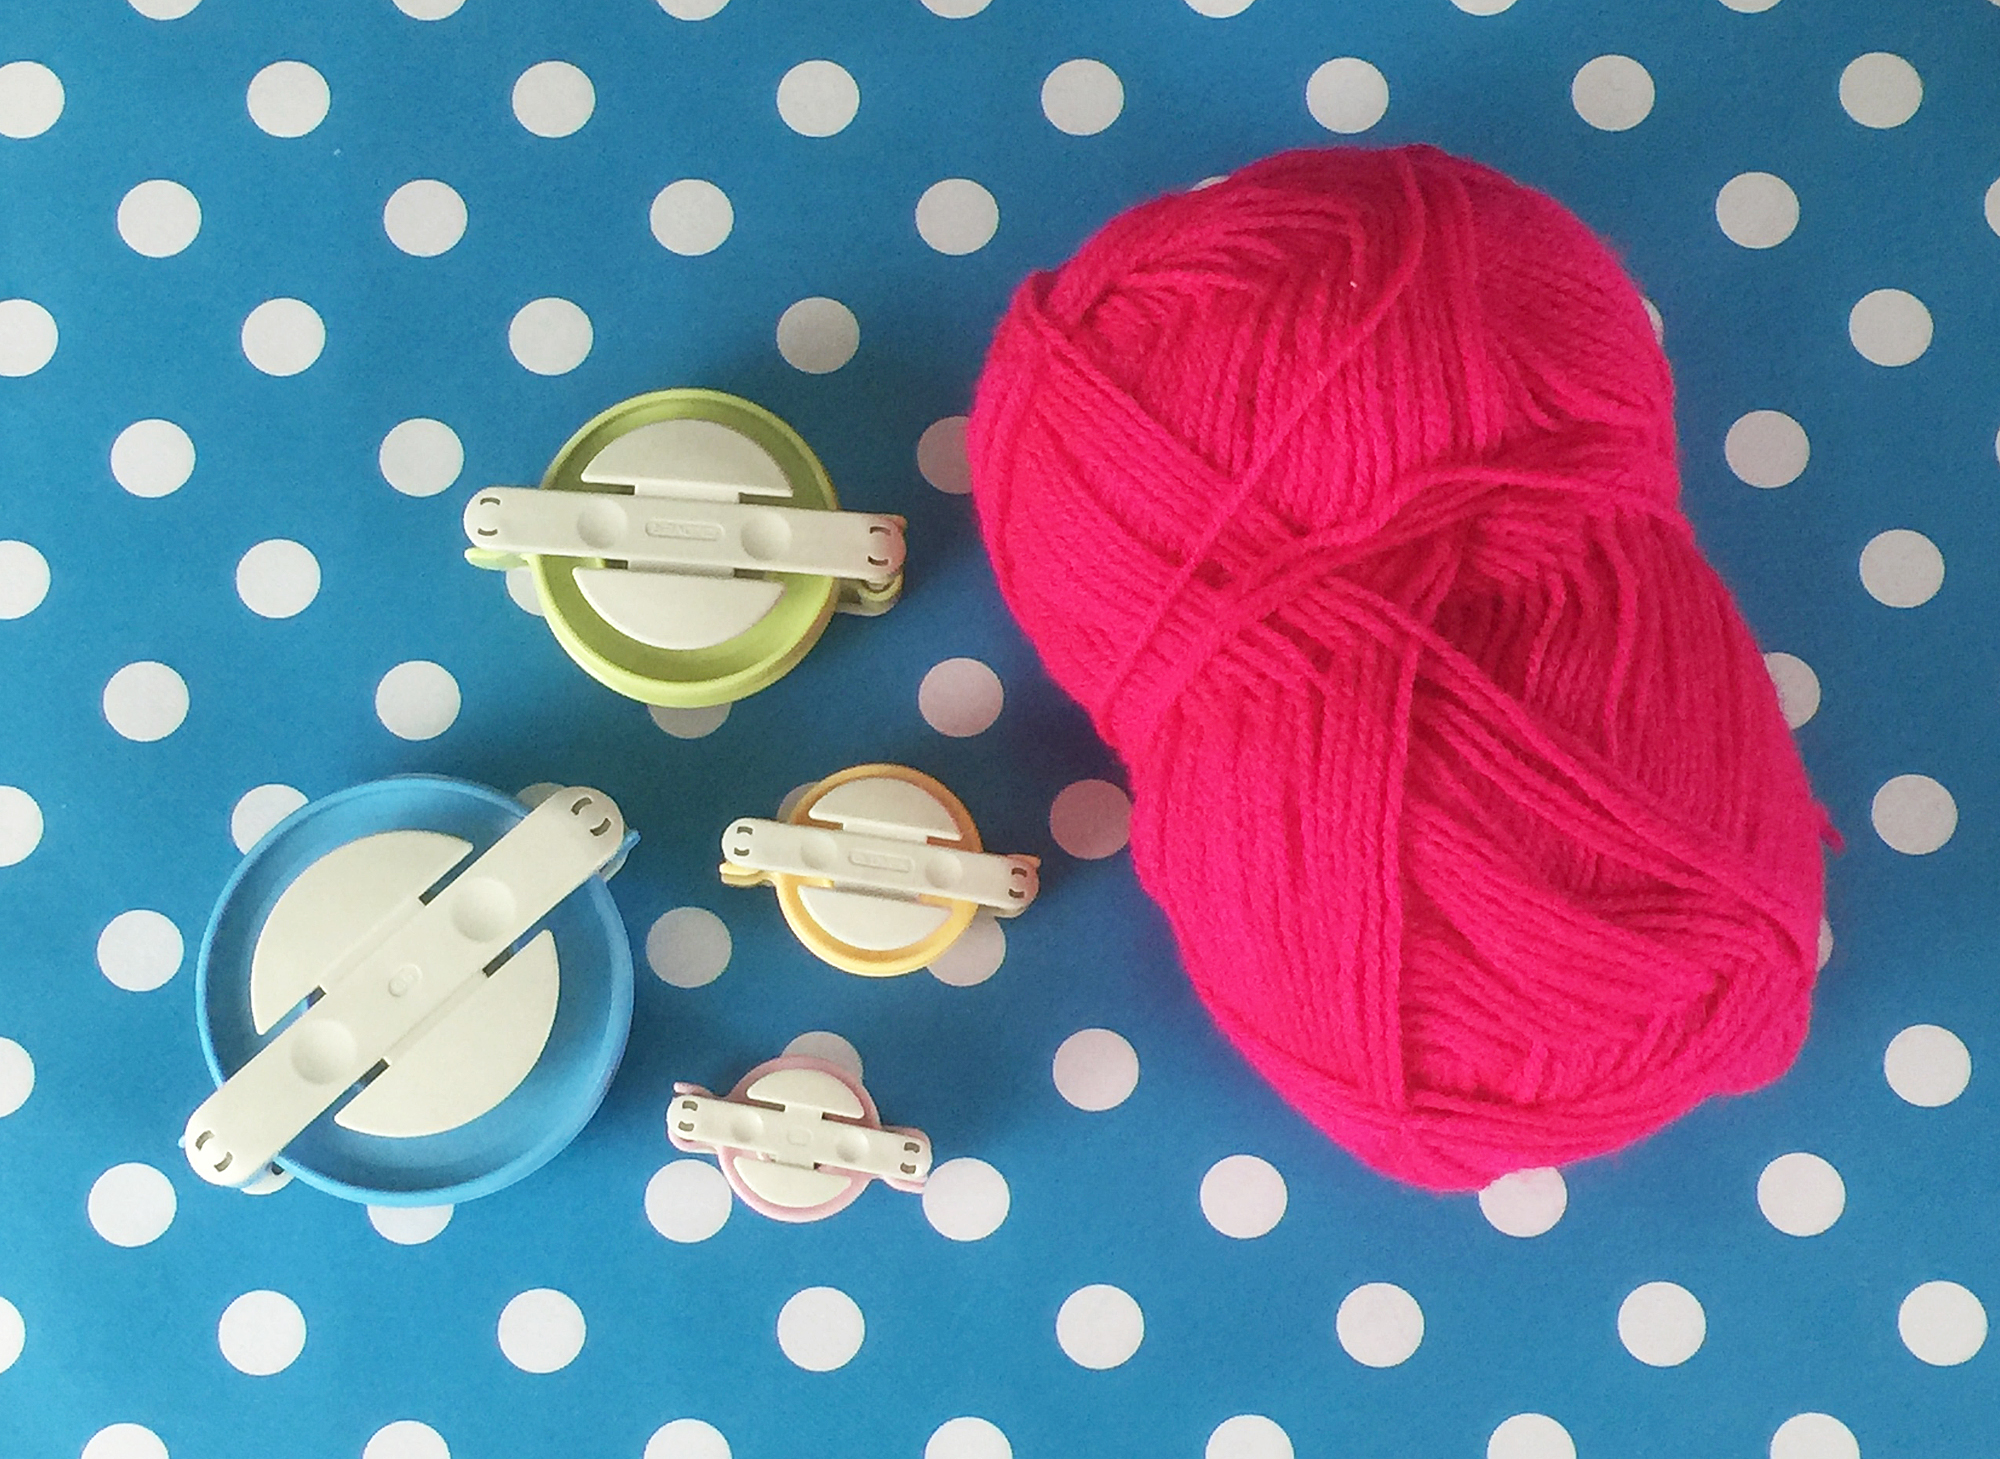
The Clover Pom Pom maker, a favourite of craft queen Kirstie Allsopp and should be in every crafters sewing box. You will find 4 different sizes in my favourite craft shop - Hobbycraft.
They can look a bit tricky to use, so I have done a step-by-step guide on how to use them. I've even recorded a video so you can watch and pause every step of the way. I learn so much of my crafts from watching videos on YouTube.

What you need:
Wool
Clover pom pom maker
Scissors
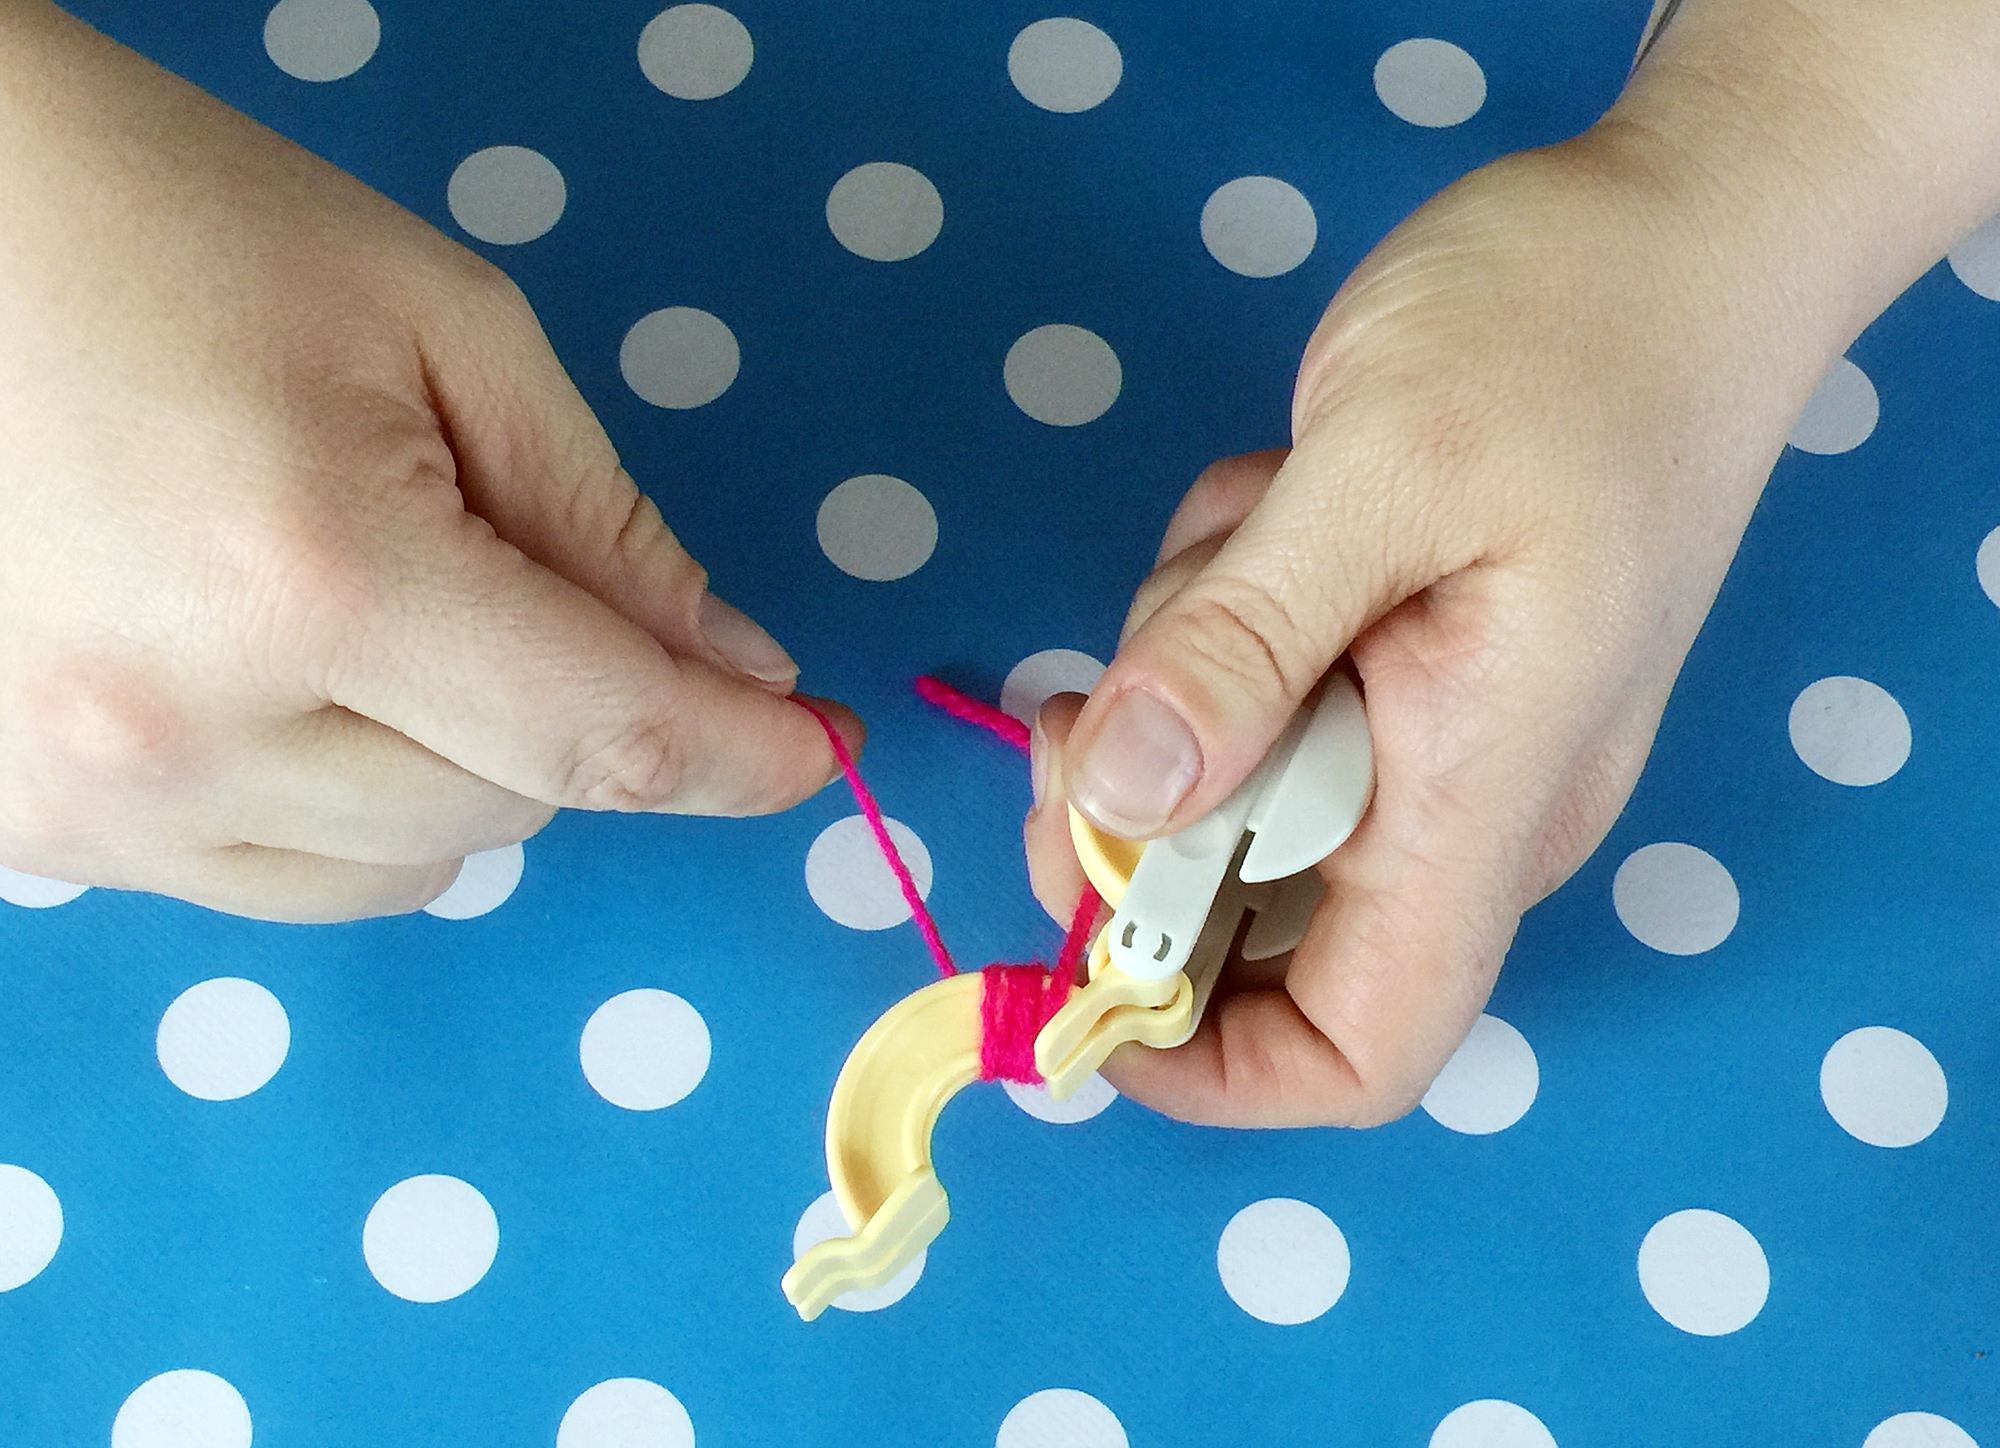
Step one:
Wrap the wool around one of the arcs (one arc is formed of two arms). Continue to wrap the wool around until the arc is completely covered. Repeat for the remaining arc. Close both the arcs.

Step two:
Insert your scissors into the slit on the side of the machine, and cut all of the way around both arcs.

Step three:
Insert a piece of wool into the middle of the machine and pull tight, secure in place with a knot.
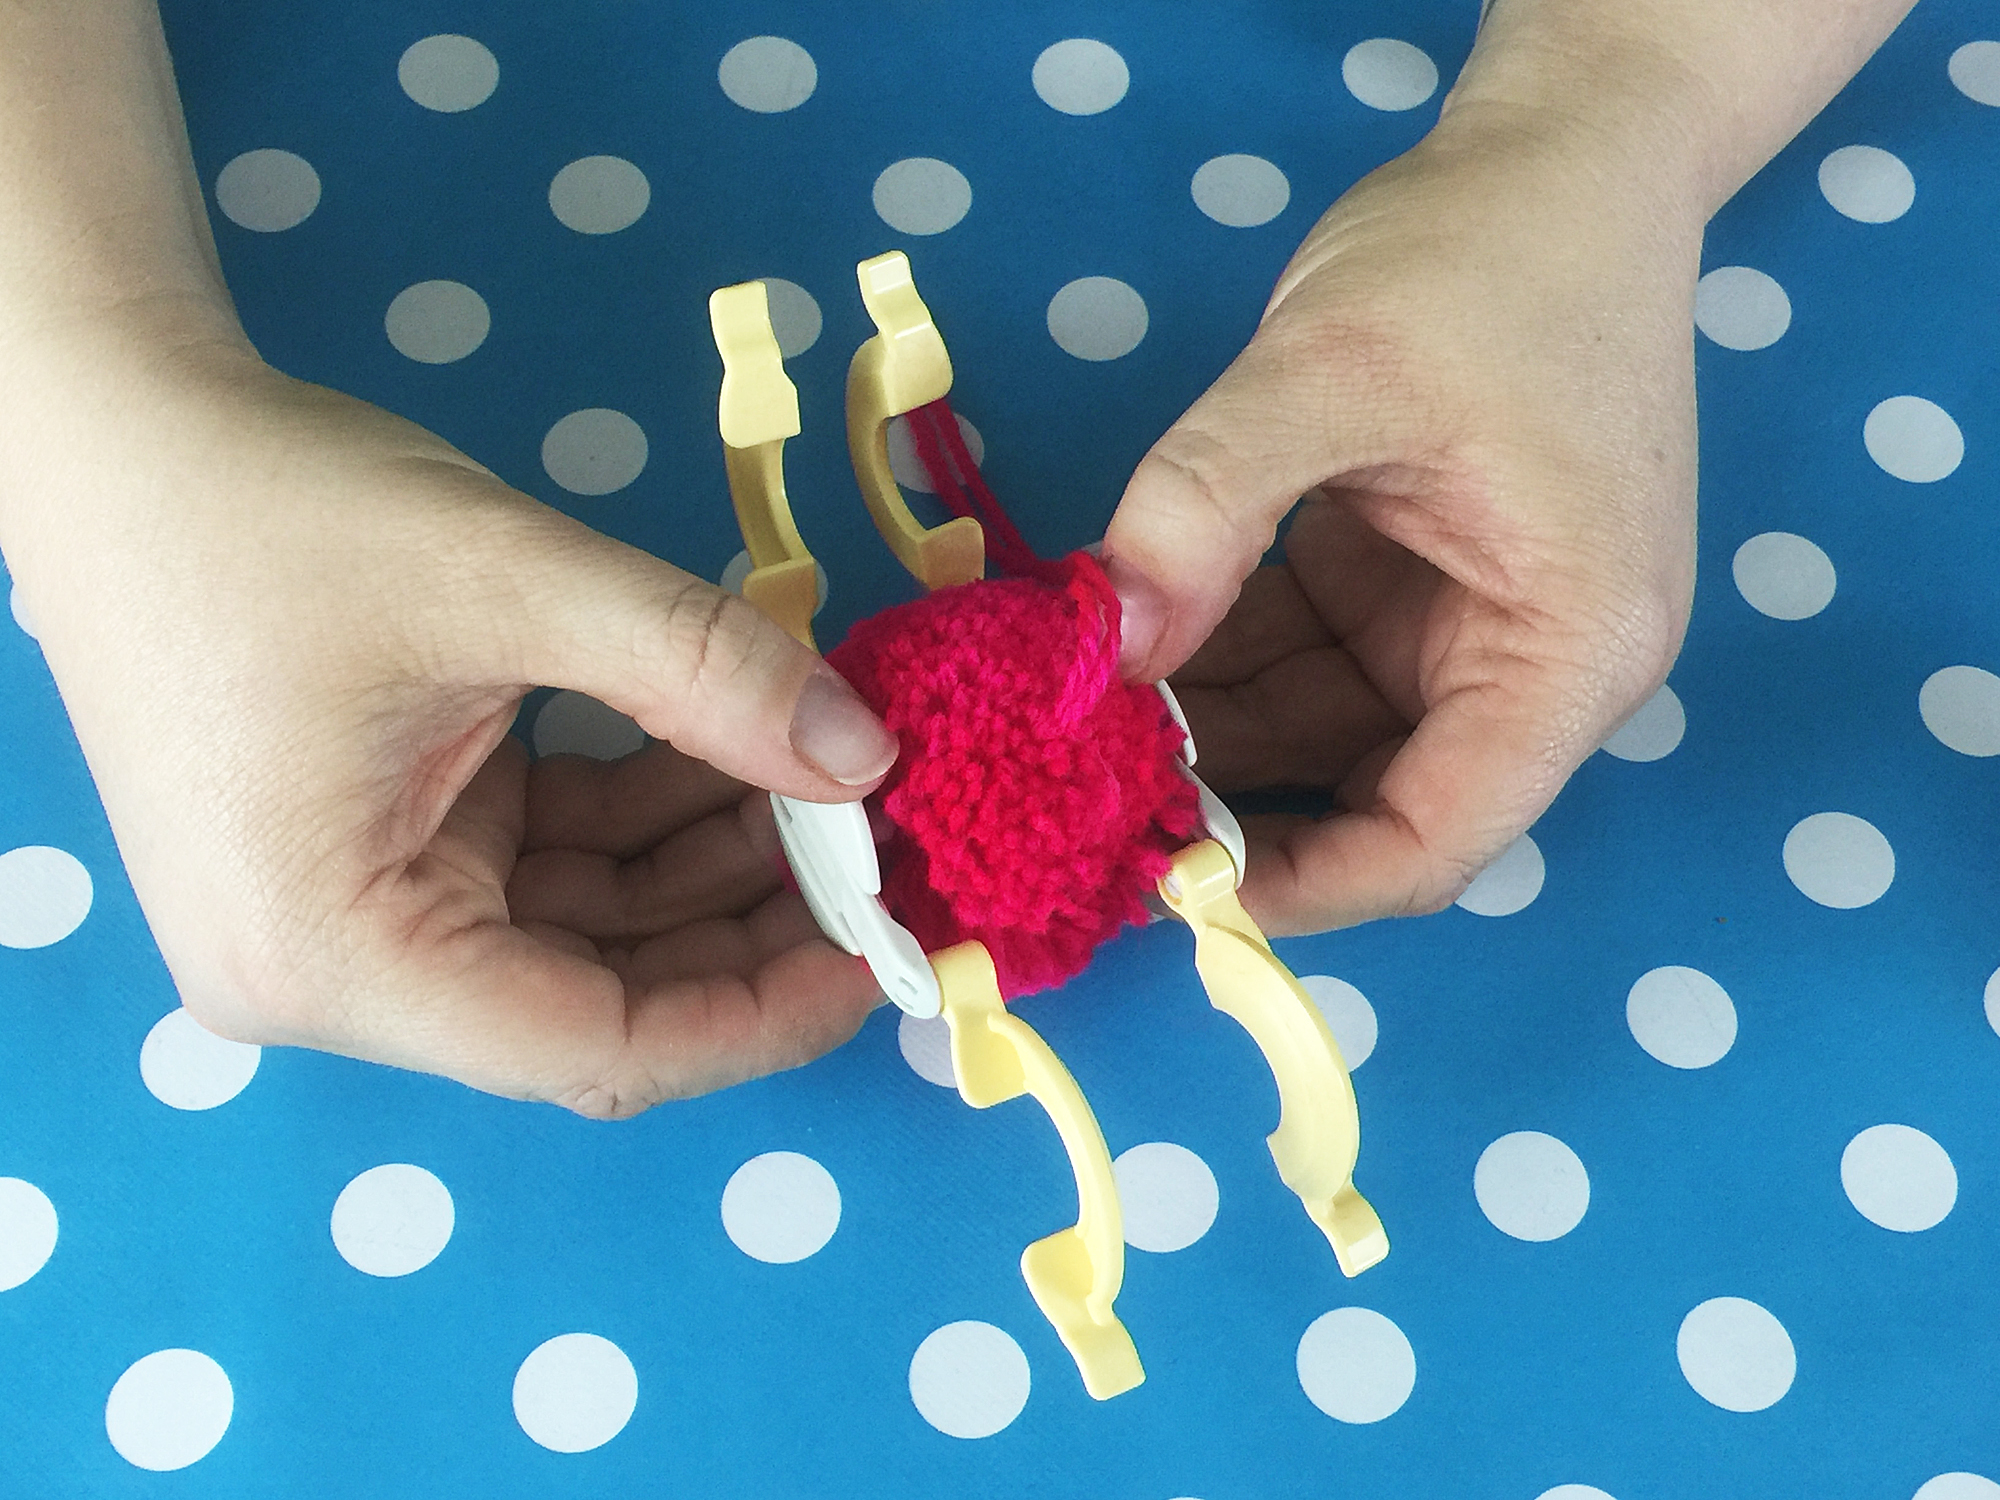
Step four:
Gently remove the pom pom by releasing both arcs of the machine. Remove the central sections by gently pulling on both sides. Trim off the little sticky out bits.
I have made a step-by-step video. Enjoy!


